

Why Packaging Mistakes Start Before a Designer Opens a File
Most packaging mistakes happen before a designer opens a single file. The artwork looks great on screen, the colors are right, and the logo is sharp, but when the finished bags arrive, the brand name is folded behind a gusset, the barcode sits directly on a seal line, or the background color bleeds unevenly across a panel. None of that is a printing problem. It is a dieline problem. Getting the dieline right before design work begins is the single most effective thing a brand can do to protect its timeline and avoid expensive reprints. A packaging dieline is the flat, technical blueprint that shows exactly how your bag or box will be cut, folded, scored, and sealed during production. It lives inside an Adobe Illustrator file and maps out every surface, every panel, every fold, and every edge so your designer knows precisely where the artwork can and cannot go. Without it, your designer is working with guesswork instead of a blueprint, and guesswork in packaging production is always costly.What a Dieline File Actually Contains
The dieline file is built around a set of color-coded lines, each one serving a specific structural purpose. Understanding what each line means helps you have a more informed conversation with your designer and catch problems before they reach production. The most important lines in any dieline are the cut line, the fold line, and the bleed zone. The cut line defines the outer edge of the flat packaging layout, showing where the material will be physically cut during manufacturing. The fold line marks every point where the bag or box bends, which is critical for anything that has a gusset, a box bottom, or a tuck flap. The bleed zone extends slightly beyond the cut line so that background colors and full-panel images fill edge to edge without any white gaps caused by minor shifts during production.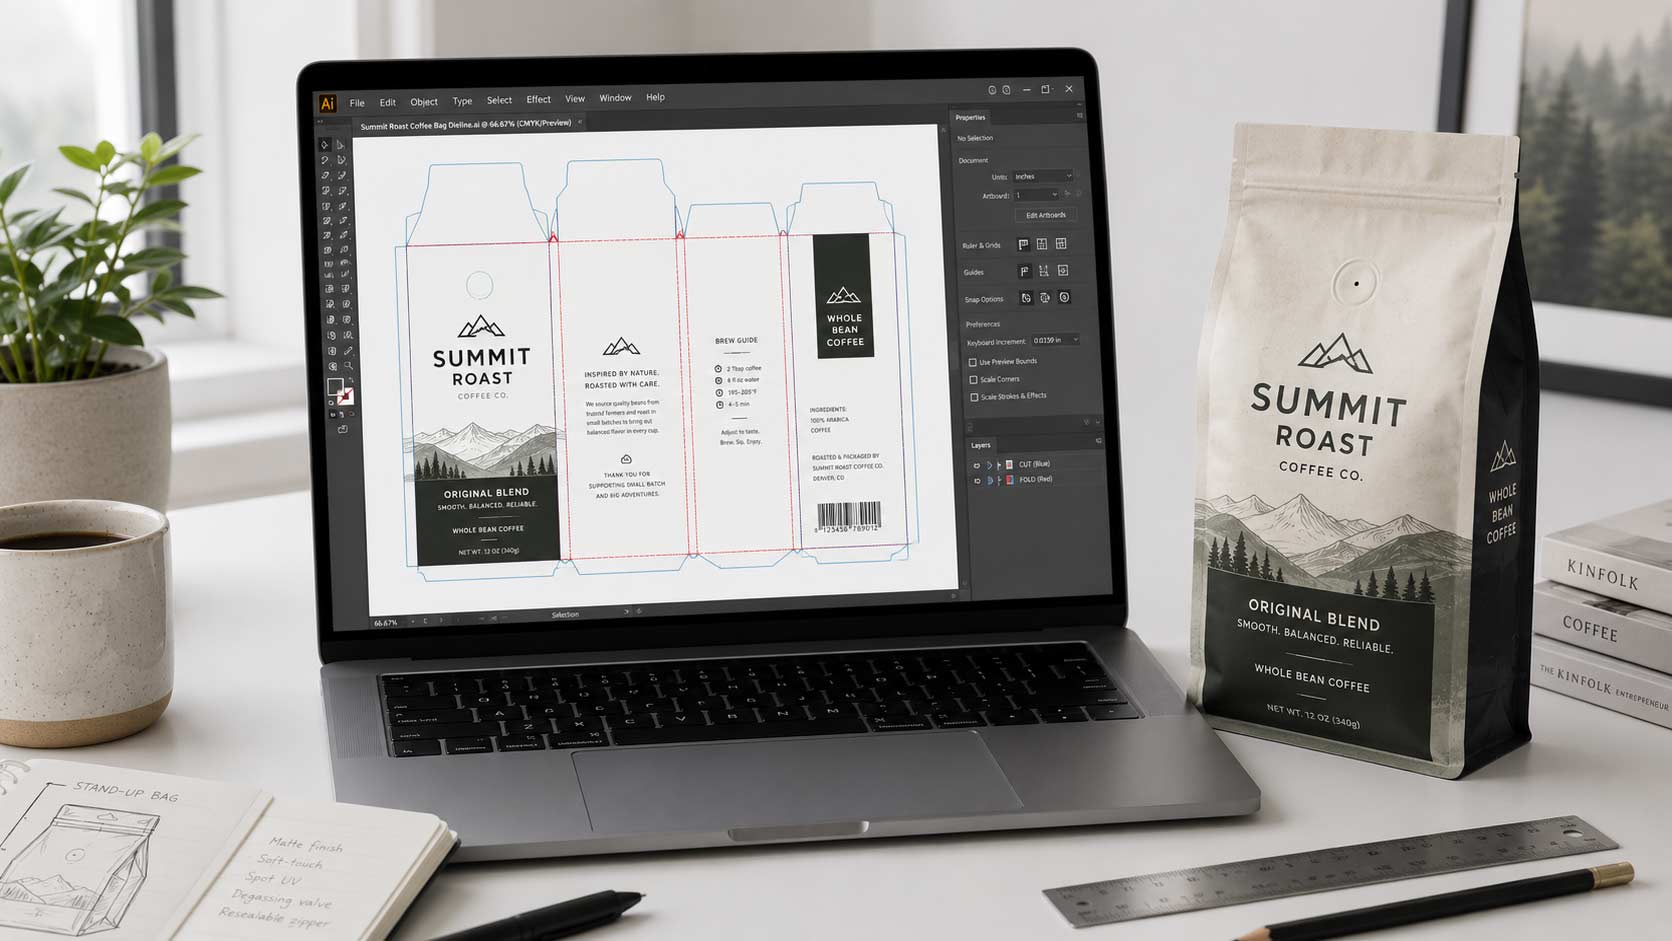 Beyond those three, the file also includes a safe zone, which marks how far logos, product names, barcodes, and other critical elements must stay from any fold or cut. If text or a logo crosses into a fold line or seal area, it gets physically compressed or hidden in the finished bag. The dieline prevents that by drawing a clear boundary around the usable design space.
- Cut lines define where the flat material gets cut
- Fold and score lines mark every crease in the finished structure
- Bleed areas extend design past the cut edge to prevent white gaps
- Safe zones protect logos, text, and barcodes from folds and seals
- Panel labels identify front, back, sides, gussets, and seal areas by name
Why the Dieline Comes Before the Design
The dieline is not something a brand receives after the design is finished. It is the document a designer needs before a single element is placed. Building packaging artwork without the correct dieline is one of the most common and most expensive mistakes in the custom packaging process. When a designer works without the dieline, the dimensions are almost always wrong. The panels are the wrong size, the gussets are not accounted for, and the design wraps in ways that look correct as a flat image but fall apart the moment the bag is formed. Submitting that artwork to production results in either a rejected file that needs to be rebuilt or, worse, a finished print run with structural errors that make the packaging unusable. The dieline also changes with every bag style and every size. A 12-ounce flat-bottom pouch has a different dieline than a 4-ounce side gusset bag, which has a different dieline than a 2-ounce tri-seal sample pouch. Getting the dieline first, before design begins, ensures that the artwork your designer builds matches the exact physical structure of the bag being produced.Different Bags Require Different Dielines
One of the most common assumptions new packaging customers make is that all pouches share the same template. They do not, and the differences are significant enough to make artwork built for one bag style completely unusable on another. [Custom coffee bags](/custom-coffee-bags/) come in a wide range of constructions, and each one requires its own specific dieline. A stand-up flat-bottom pouch with a zipper and a degassing valve has a completely different panel layout than a side gusset bag or a quad seal box-bottom pouch. The front and back panel dimensions change, the gusset depth changes, the valve placement zone changes, and the overall printable surface area changes with every variation in bag construction. The same applies to [food packaging](/food-packaging/) across categories. Snack bags, spice pouches, protein bags, pet treat packaging, and granola bags each have their own construction specs, and the dieline for each one reflects those specs precisely. A dieline built for a flat-bottom coffee pouch cannot simply be stretched to fit a side gusset snack bag. The structure is different, the seal zones are in different locations, and the fold points are in different places. Each bag style needs its own properly built file.How Savor Brands Handles Your Dieline
You do not need to source a dieline on your own or figure out how to build one from scratch. When you order through Savor Brands, the dieline is provided to you as part of the project workflow. Once your bag specs are confirmed, including the size, style, material, zipper type, and valve placement, the Savor Brands team sends you the Adobe Illustrator dieline file. You pass that file directly to your designer, and they build the artwork on top of it. This is how the process works for both [digital packaging](/digital-packaging/) orders and high-volume [rotogravure](/rotogravure-bags/) runs. In both cases, the dieline gets issued after specs are confirmed, before design work begins, and the finished artwork gets reviewed against the dieline before it moves to production. That review step checks that all critical design elements stay within the safe zone, that bleeds extend correctly, and that nothing structural has been accidentally placed on a fold or seal line. Getting the dieline into your designer's hands early also protects your timeline. [Digital packaging](/digital-packaging/) jobs move quickly, and there is no room in a short-run production schedule to catch and fix a layout error mid-run. Starting with the correct dieline means the artwork approval process goes faster, revisions are minimal, and your bags hit production on schedule.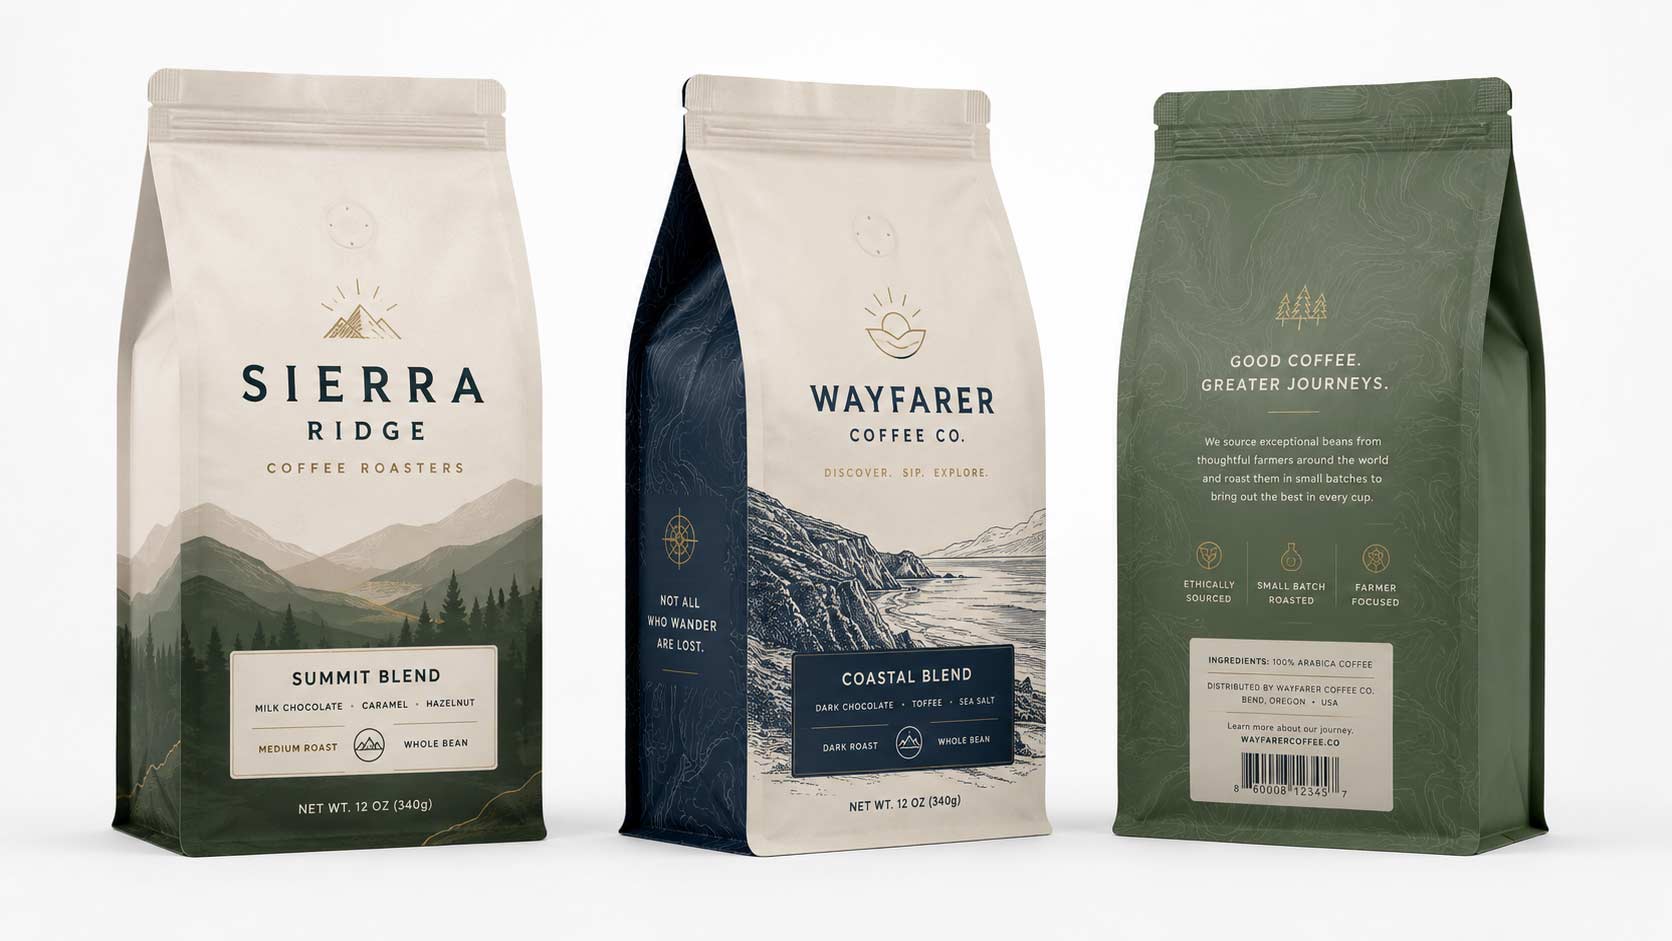
Now You Know What to Ask For
A packaging dieline is not a formality that gets passed off to a designer and forgotten. It is the document that connects your brand vision to a finished, printed, physical product. Understanding what it contains and why it matters before the design process starts puts you in control of your packaging project from the first conversation. The next time you start a custom packaging project, ask for the dieline before your designer touches anything. It is the first step that makes every step after it work correctly, and it is the one file that determines whether your finished bags look exactly like your design or nothing like it at all.The Blueprint Is the Starting Line, Not an Afterthought
Every great piece of custom packaging starts with a correctly built dieline. The brands that get this right launch faster, avoid costly reprints, and end up with finished bags that match the vision they started with. The brands that skip this step or assume their designer will figure it out often learn the hard way that the structure of a bag is not something a creative eye can compensate for. Start with the dieline. Build the artwork on top of it. Everything else follows from there.Why Us?
 3x SCA Best New Product Award Winner
Industrial Compostable Packaging
Your Very Own White Label Mobile App
Pono Collective: Providing Coffee Education
Lower MOQs With Our Digital Print Process
Setting Trends While Elevating Your Brand
Contact Our Team!
Other Blogs of Interest


Your Custom Coffee Bag Deserves Great Artwork: Brief a Graphic Designer the Right Way
Why the Brief You Write Is More Important Than the Designer You Hire A great designer working from a poor brief will still produce work that misses the mark. An average designer working from a thorough brief has a much better shot at nailing it on the first try. Think of the brief as a map. The mor...


3 Common Mistakes to Avoid When Designing Your Custom Coffee Packaging
Congratulations on reaching this exciting milestone! We're so excited to be assisting you with this project and can't wait to get the proofing process started. At Savor Brands, every project includes complimentary proofing review by our expert Pre-Press Team! To ensure a smooth proofing experience, we ...


Mini Guide to Designing Your First Digitally Printed Coffee Bag
Starting your first digital print packaging project can be exciting but it can get overwhelming very quickly. With so many options customization options, bag styles, and materials to select from, it helps to have clear manageable steps to help guide you through the process. This mini guide is here to h...


Custom Coffee Bags Explained: Stand Up Pouches
Stand Up Pouches have been a favorite for roasters and customers for many years. Its design to stand upright on shelves offers the perfect balance of practicality and presentation for many businesses. Why Choose Stand-Up Pouches? This bag style is known for its "more bang for its buck" due to it...